Have You Seen the Lightboard at GVSU?

[sws_pullquote_left] A warm welcome to Ensemble Video guest blogger and digital media guru, Justin Melick. Justin Melick is a Digital Media Developer at Grand Valley State University where he has been since 2014.
Justin is a a passionate professional and truly reflective practitioner. In his position he helps faculty create engaging digital content for on-campus, hybrid and online courses. [/sws_pullquote_left]
[sws_divider_small_padding]
What is a Lightboard?
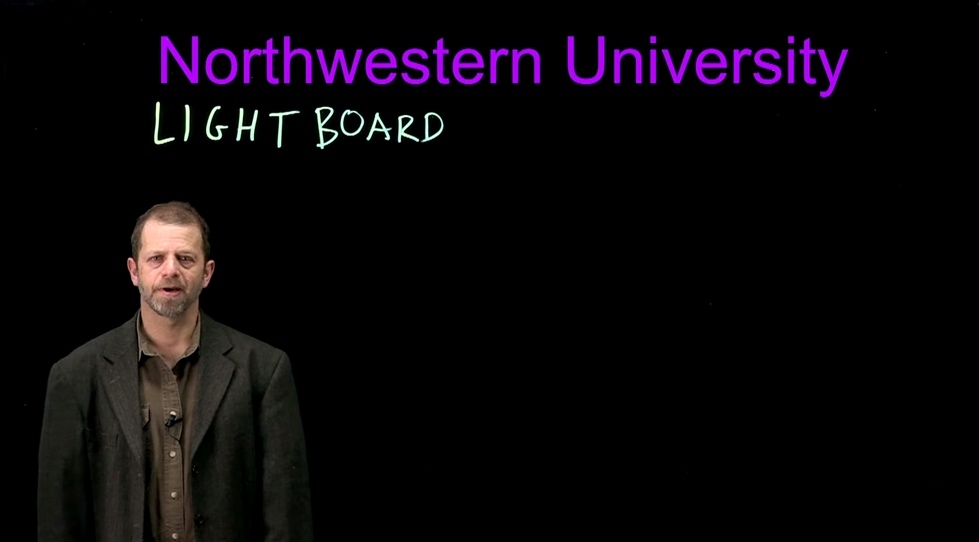
The lightboard is an innovative teaching and learning tool that allows instructors to display their content while still being able to give both verbal and non-verbal cues to their students through video. When you write on the board your words appear to glow, allowing faculty to create engaging visuals that will help drive home instruction. This concept was created by Michael Peshkin of Northwestern University and has started to spread to institutions around the world.
The lightboard at GVSU is a custom-built 3×4 foot piece of glass that has high intensity LEDs mounted to the top and bottom held on by 3d printed clips. The board is affixed to an adjustable table on wheels so it can be easily moved when necessary. To record videos we use typical studio lighting and a DSLR camera with a polarizing filter to reduce glare. Once the recording has finished I then take it into video editing software where I flip the video horizontally so the content is facing the right direction.
Beyond creating a new and innovative way for faculty to share their content, the lightboard at GVSU was also created to increase an instructor’s presence in their courses. In large part, the videos produced using the lightboard are being used in online, blended or flipped classes. By using the lightboard, faculty are able to be in front of their students, which has shown to have a positive effect on learning (Lear et. al. 2009).
Currently at GVSU we have 5 faculty members who are making videos with the lightboard, and we expect to see that number grow as more faculty learn about this tool. While the lightboard was in part designed to solve problems in fields such as Engineering, Chemistry and Physics, I have also found applications in Education and Business Law.
Example Videos:
The Build Process
Inspiration
Our first exposure to the concept of a lightboard came from Michael Peshkin at Northwestern. From that example we then discovered the lightboard that was created by Duke University. This lightboard is largely based off of these concepts with a few alterations to fit our needs.
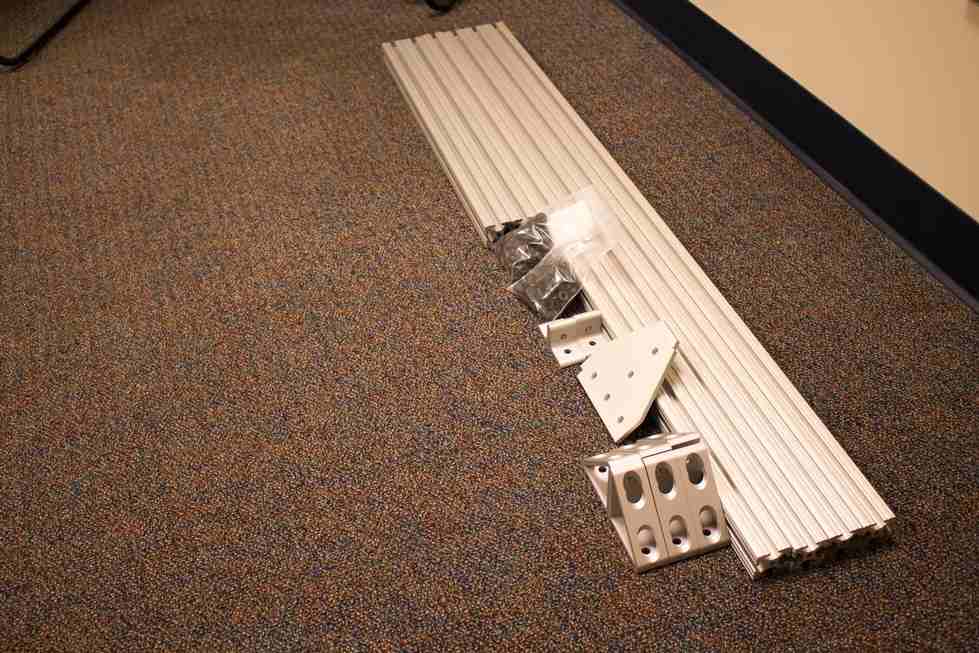
Frame
When creating the frame the first step was to decide what size of lightboard would best meet our needs given the space we had. After finally deciding on a 4×3 foot board we then decided to use 80/20 aluminum extrusions to create the frame based on the recommendation of Duke University as well personal experience with the product. While constructing we found that using the extrusions to build the frame was very easy and offered a lot of versatility in terms of the options we had to build a frame to meet our needs. In addition to the extrusions we also used 80/20′s “t-slot fillers” to bring some color to our lightboard while at the same time using them to hide the wiring and other electronics when possible.
Glass
Sourcing the glass for the lightboard ended up being one of the more difficult facets of the build. After calling to a few local distributors we ended up being able to purchase a 1/5in thick 4×3 piece of low iron glass with 8 holes for mounting. The decision to go for low iron glass was based on the recommendation of others who said that it was needed to increase the clarity of the glass when being viewed through a camera lens.
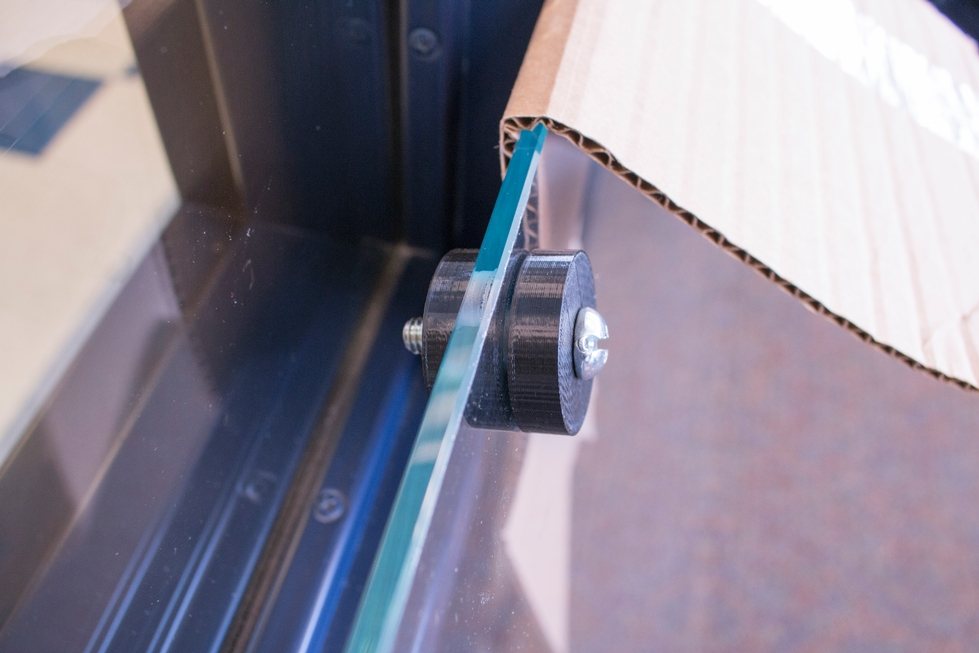
Glass Mounting
One of the most difficult portions of this project was figuring out a method to mount the glass to the frame. To do this we used a slightly modified version of the 3d printed stand-offs created by Duke. Before mounting we super glued the stand-offs in the holes in the glass and then slowly lowered the glass onto the frame, doing our best to line the stand-offs up with the nuts that were in the slots in the extrusions. Once everything was lined up we then inserted the bolts through the stand-offs into the nuts, separating the head of the bolts by a rubber gasket in order to protect the the plastic stand-offs.

Lighting
In order to light the board we needed to create a solution to mount and wire up the LEDs on the edge of the glass. For the mounting piece of this issue we were able to slightly alter the LED clips that were created in the Duke Lightboard project. Finally to wire everything together we used basic lamp wire that we did our best to keep hidden within the aluminum extrusions. Finally, the power supply and surge protector was mounted to the bottom of the table which was done to hide as much of the wiring as possible.

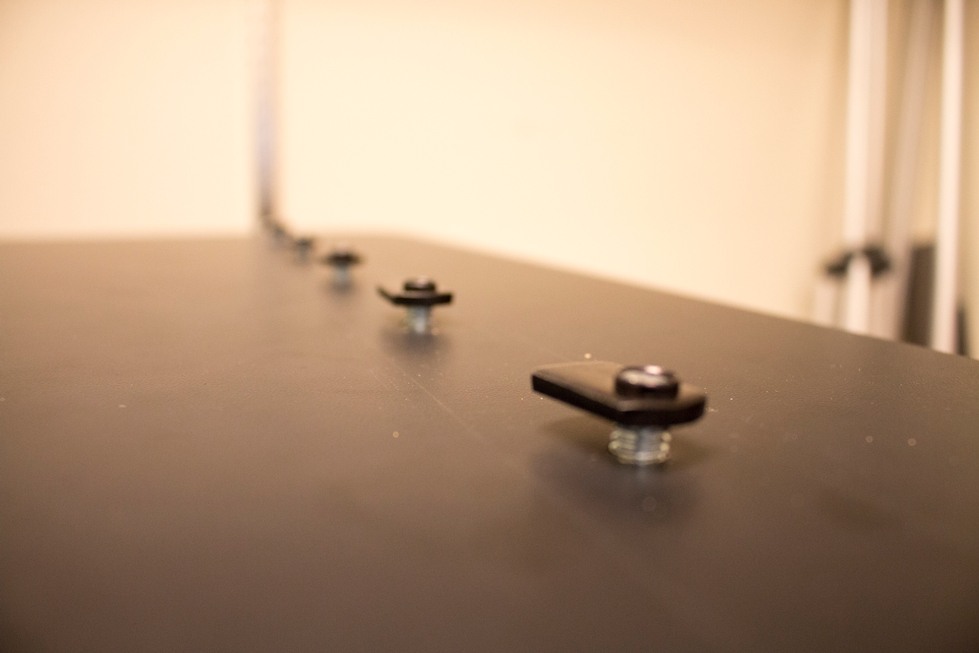
Table Mounting
The final part of the lightboard puzzle involved mounting the lightboard to a Steelcase Airtouch table. We chose this table because it is height adjustable which allows faculty of various heights to use the lightboard either standing or sitting. In order to mount the lightboard we had to drill holes through the table top and align bolts with the t-nuts in the bottom of the 80/20 extrusions.
Documentation
3D Printing Files
Note: 3d files are based of models created by Duke University.
Bravo Justin!
 I think it goes without saying that we are more than impressed with your efforts! The lightboard at GVSU is a great way to point to terms in equations and illustrate movement in diagrams. We can see this working well for any educator who want to draw highly visible sketches and equations as they lecture, in a natural way! Keep up the GREAT work!
Related Posts


-
 Ensemble Video Acquired by Panopto
We have big news here at Ensemble: we’re becoming...
- April 21, 2021
-
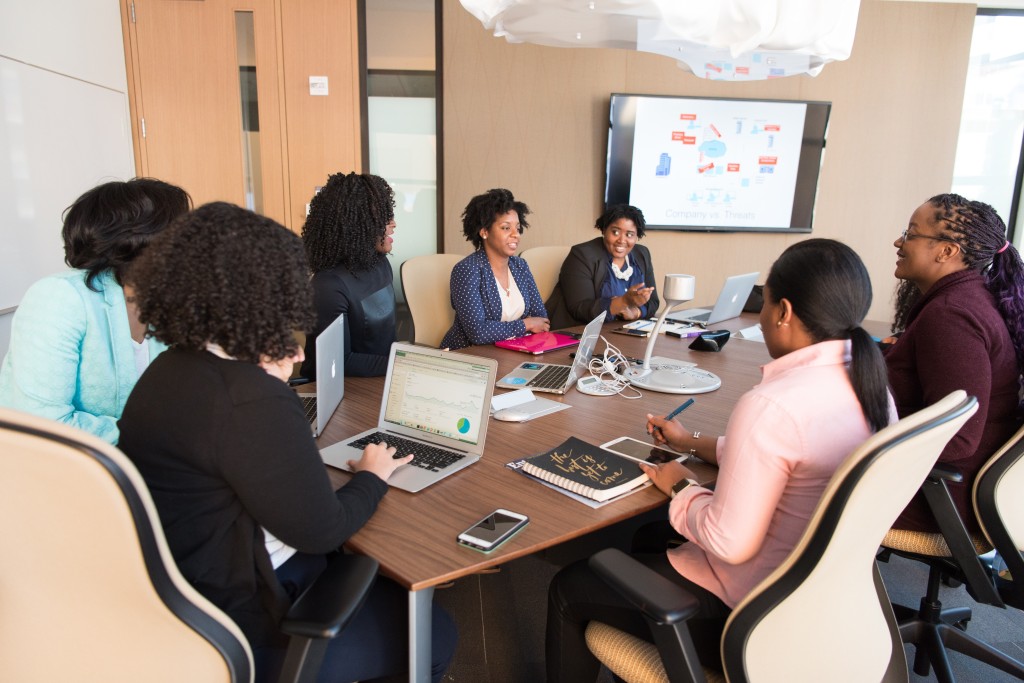
 Hybrid Classes: The New Normal for Higher Ed Educators & Students
Thanks to COVID, many college students and educators who...
- March 25, 2021
-
 Extron and Ensemble Video: Upgrade Your Lecture Capture and Meeting Capture
Ensemble Video’s new integration with Extron is an upgrade...
- February 25, 2021
-
 HOW TO: Convert DVD (VOB) Files to Editable MPEGs
One of the keys to developing a content rich...
- January 13, 2011
-
 HOW TO: Create Captions in YouTube for Ensemble Video
Joel Steinfeldt, Media Communications Specialist at the University of...
- May 31, 2010
-
 HOW TO: Livestream With Adobe FMS/FMLE
With Adobe Flash Media Server and Adobe Flash Media...
- December 5, 2010
You must be logged in to post a comment Login