HOW TO: Video Conversion Part VI – Video Editing Software

One of the greatest challenges for an instructional technology professional, faculty member, or media producer is determining the best video encoding workflow for their source media content. In this six-part blog series, video guru (and Ensemble VP of Marketing And Sales) Scott Nadzan will discuss some common video sources uploaded/ingested into Ensemble Video, and help you figure out which video workflow/encoding recipe will ensure videos are optimized and ready for playback on iPads, iPhones, computers and other devices.
Welcome to the sixth and final installment in our “summer school crash course” on video conversion, brought to you by Scott Nadzan. This week, we will focus on video editing programs, and wrap up our series with some final thoughts. If you missed anything, or would like more information on this series, click here for the cheat sheet.
[sws_divider_line]
PART VI: Video Editing Software (Adobe Premiere, Final Cut Pro, Avid, etc.)
[sws_divider_line]
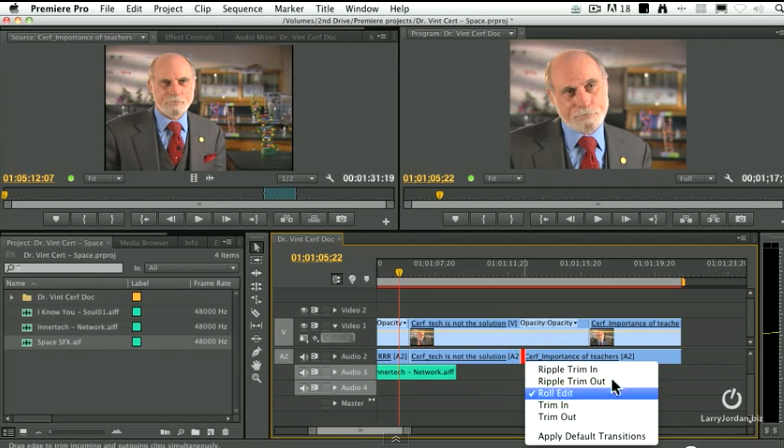
Let’s assume you have a complete sequence that you’re are happy with. Once your video has been created, it’s time to export. If you are a seasoned video editor, I’m sure you may have your own export workflow, so feel free to skip this section if you know how to prepare content for Ensemble Video.
Format
There are several ways to tackle this, but I’d recommend creating a high-quality intermediate file (I like to export a high quality QuickTime movie using H.264 compression). Also, make sure you have AAC audio selected, and your sample rate is at 44.100 kHz.
Resolution
The export size settings need to match the settings of your own sequence (especially the aspect ratio). Usually, you’ll be picking between 720p or 1080p. If the majority of your viewers will be on computers, tablets, and mobile phone,s you’re probably fine with 720p. If that’s the case, make sure the dimensions are set to 1280×720. If you’re targeting BIG screens that support 1920×1080 resolution AND you know your users will have the available bandwidth, then go for 1920×1080. Lastly, if you’re working with content that was shot on tape, then we highly recommend you to select the “deinterlace source video” option. This will help you avoid any interlacing effects on your encoded content.
Bitrate
When dealing with high-definition source content, we see all kinds of bitrates. I would recommend exporting at least 3,000 kbps, but no larger than 5,000 kbps if you will be streaming the file. A higher bit rate (5,000 kbps) is recommended when your video has more complex footage (lots of movement and/or animations). If you have a talking head video with simple footage, I think you can get away with a lower bit rate (3000 kbps).
Lastly, if you really want to get the best quality out of your editor, please use the multi-pass encoding option. It’s general practice that two-pass produces a better transcode than one-pass. However, this does take up a lot more time to perform than a one-pass encode. Depending on factors like the amount of motion in the video, you may not see any visible improvement in quality with two-pass encoding rather than one-pass. It is probably a good idea to run a comparison test or two.
Frames Per Second (FPS)
In this case, I would recommend using the same frame rate as your source. A frame rate of 24 or 30 fps is pretty standard.
Note: If you are using your video editor to export multiple videos for uploading to Ensemble Video, you may want to create and save a preset or export profile. This lets you use the same compression settings without having to select them every time.
The Encoding Recipe
If you created a 3000 kbps-5000 kbps (3-5 Mbps) intermediate file, here are two Ensemble Video encoding recipes you could try (keep an eye on the ingredients):
[sws_grey_box box_size="600"]
Single File Workflow Recipe
FORMAT: MP4 (H.264)
RESOLUTION: 640×360 (16×9)
BIT RATE: 900kbps
FPS: 29.97 fps
[/sws_grey_box]
[sws_grey_box box_size="600"]
Adaptive Bit Rate Workflow Recipe
FILE 1
FORMAT: MP4 (H.264)
RESOLUTION: 480×270 (16×9)
BIT RATE: 400kbps
FPS: 29.97 fps
FILE 2
FORMAT: MP4 (H.264)
RESOLUTION: 640×360 (16×9)
BIT RATE: 900kbps
FPS: 29.97 fps
FILE 3
FORMAT: MP4 (H.264)
RESOLUTION: 1280×720 (16×9)
BIT RATE: 3000kbps
FPS: 29.97 fps
[/sws_grey_box]
Remember, if you created an optimized MP4 (H.264) when converting/capturing, you could skip encoding in Ensemble Video. You would choose an “Upload and Stream – No Transcoding” preset.
[sws_divider_line]
I hope this article helps you export your videos from a video recording software tool so they are ready for streaming! Check back next week for my final thoughts on the Video Conversion series and be on the lookout for a useful tip!
Related Posts


-
 Ensemble Video Acquired by Panopto
We have big news here at Ensemble: we’re becoming...
- April 21, 2021
-
 Hybrid Classes: The New Normal for Higher Ed Educators & Students
Thanks to COVID, many college students and educators who...
- March 25, 2021
-
 Extron and Ensemble Video: Upgrade Your Lecture Capture and Meeting Capture
Ensemble Video’s new integration with Extron is an upgrade...
- February 25, 2021
-
 HOW TO: Convert DVD (VOB) Files to Editable MPEGs
One of the keys to developing a content rich...
- January 13, 2011
-
 HOW TO: Create Captions in YouTube for Ensemble Video
Joel Steinfeldt, Media Communications Specialist at the University of...
- May 31, 2010
-
 HOW TO: Livestream With Adobe FMS/FMLE
With Adobe Flash Media Server and Adobe Flash Media...
- December 5, 2010
You must be logged in to post a comment Login